


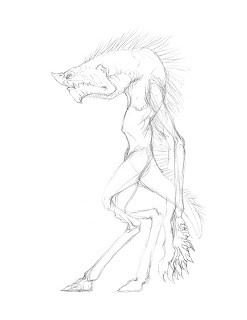
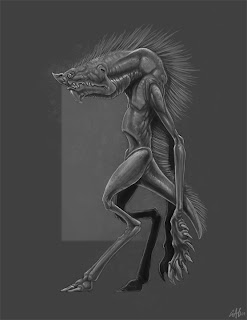
First I read the description: "Sylars are very scrawny and have a type of thin mane that leads from the back of their head, down their spine (kind of like a horse's), to their tails. The mane however, consists of small 'quills' that dangle fairly loosely from their backs. The usual stance they assume would appear as if they were slightly stooped. Their necks, arms, and legs are long and slightly skinny; along with flat heads. The unit's primary sense of attack is physically clawing with its 13-fingered hands that have extremely sharp and long claws, approximately 3" long."
With this in mind I produce 10 - 12 really fast really loose sketches. These sketches were much looser then I usually tend to work because I know I want to flesh them out in photoshop and I am still trying to figure out the direction I want to take the creature. At about the 4th or 5th sketch I begin to lock in the direction i want to go. I pick my favorite 5 sketches, scan them, and take them into Photoshop.
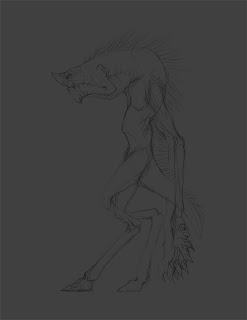
I now place a multiply layer above the drawing, set it at 75% opacity and fill it with solid black to create a nice grey to work on top of.
Now is a good time to talk brushes. I generally use a very limited selection of brushes, most being default or slightly modified default brushes. I do make and use custom brushes as needed. For most of my work in Photoshop I paint with a brush set to 40% opacity with opacity fade set to pen pressure. I work either on my Wacom tablet or monitor taking full advantage of the stylus' pressure sensitivity. I will work a surface up taking advantage of the fact it will take several passes to reach full opacity and that I can fade completely out with a light touch. For these pieces I used brushes 'A' and 'D' predominately.
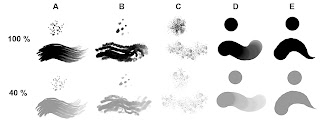
I now create a new normal layer and begin painting with a medium grey using brush 'C'. I use brush 'C' very lightly all over to break up the form and establish some base texture. You can still see some of these marks that fell outside the line drawing, I leave them because I feel they add to the over all feel of the piece and I can remove them later if needed. I now switch to brush 'A' and begin to define the forms and establish the lighting for the figure. I work very lightly at first and slowly build up the forms. Once I am at a point I am happy I switch to a darker grey and lay down shadows using brush 'D'. I will now work the figure switching back and forth between the lighter and darker grey (still using brush 'D') to finalize the forms. I use brush 'B' and go back in and break up some of the areas on the head, arms and legs to add a pore or surface texture. I tap the stylus gently to create the desired effect.
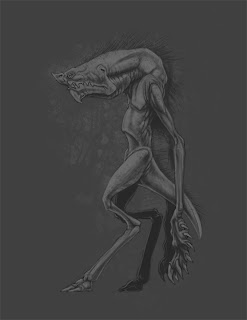
Below the current layer and create a new layer and add in the quills along the back. Since this is a feature that very easily may need to be changed later I feel it is wise to separate it. Using brush 'E' at 100% opacity I work the quills in with the 2 greys I have already been using.
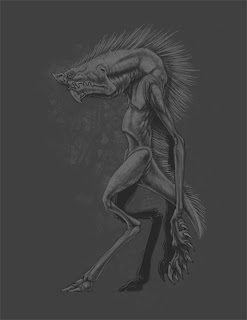
I create a new layer above the main painted layer. Using brush 'D' and a very light grey (but NOT pure white) I finalize the forms and make sure that everything is making sense. As before I will now select a darker grey and work back and forth between the light and dark to finalize everything. Lastly, I select pure white and black to add the final emphasis to areas like the eye, teeth, claw, etc, anyplace that would have a dark dark or a light light. These lighter and darker areas also helps to direct the eye of the viewer.
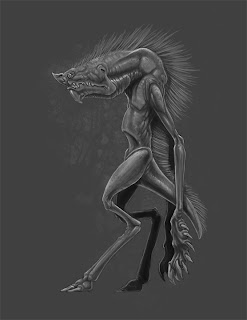
Feeling that I have completed the painting I add the graphic element to separate the figure from the background somewhat. I would now move on to the next figure and repeat. I hope this has been helpful in explaining how I go about creating these images.
For more samples of my work or to contact me regarding my availability head over to my website: www.christopherburdett.com

No comments:
Post a Comment